It's been a long time coming, but Bramble Blooms is finally a top.
I'm not 100% happy with it, but it's a top.
When I last left this project, I had made some "9-patch" barf.

To some of you, this may not look so bad, but to me it's just too much. (And honestly, it doesn't look as bad to me today as it did back when I sewed it, but I still don't like it.)
It also did not make for a very big quilt and I'm not much of a fan of a quilt you can't snuggle under.
So I set it aside, in time-out, and ignored it for a while. Every so often, it would pop into my consciousness, but for the most part, I ignored it in favor of all else.
But once the baby quilt was done and the mystery quilt along was over and the stitch book was completed, I kinda had to face the music. Some ideas had been percolating on and off, so I decided to pull things out this week and see what I could come up with.

I thought to deconstruct the "9-patches" (they're sewn in rows, not actual 9-patches, which is why I keep putting that in quotes) and set them as actual 9-patches, on point. This would lighten things up a lot. BUT. I sewed them in rows, so deconstruction would be a big deal.
After laying out the rows folded up, I decided it was worth a shot. I thought maybe I could just leave the long seams sewn and pick out the short ones across the rows. I could, but it ended up in needing a lot of re-sewing edges that pulled apart where I didn't want them to, so I just ended up un-sewing the rows after all. It was probably faster.
I figured out what size to cut setting and edge triangles and went back to the stash set aside for this project. No problem, I can make this scrappy, as planned.

Much better. Though I'm still not in love with it, this is much better. It will require another coping border (the gold was put there to work with the first idea, but I'm done with un-sewing things, so I'll just add another and no one but us will be the wiser, right?!), but off to pull apart the remaining three borders...

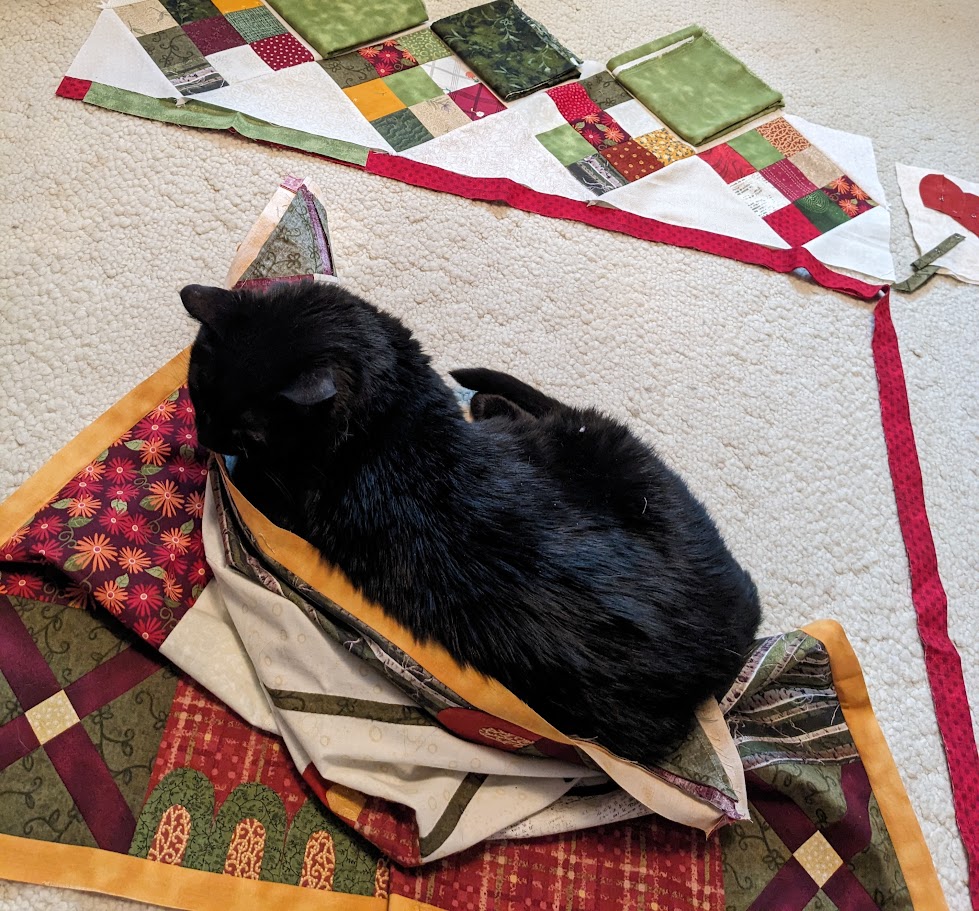
This took quite a while and I did it sitting on the floor, which meant the kitties wondered what I was doing. Thankfully the tiny terror slept through it all.
Time to reconstruct.

But then I started thinking about the off-white setting triangles. Would that be too white? Would it work to make the outside triangles darker?

(At this point, I was also still considering using the applique cornerstones somehow, so you see them hiding there in the corner.)
No, I don't think I like the dark on the outside. The 9-patches fade into it too much. (I know there are lighter squares in there, too, that will fade into the lighter setting triangles, but we're picking battles here at this point.)
Freddie also had some opinions.
I decided to use all of the 9-patch blocks (there would have been four left over if I used the applique blocks as cornerstones), but that meant I didn't have enough setting triangles and that was going to be a problem, as I was running out of fabric pieces large enough to cut them four at a time. But, after having a little tantrum at myself, I realized that I could, if I wanted to actually make the effort, cut the setting triangles individually. I used one that was already cut from a 4-1 to get an idea where to place the ruler, and though it was annoying and not always terribly easy, I got what I needed with fabric to spare. (But here's to hoping the next quilt prompts don't need much light fabric because I've got a lot of small pieces and not much else!)

I put everything on the floor (too close to my sewing chair for ease of use, of course), making sure the different fabrics were fairly well distributed, and got busy sewing.
Once I hit this point, things seemed to go faster again. I was done agonizing over decisions, ripping seams from previously failed decisions and generally feeling good about the forward progress.
But, as I said, these required a coping border - and I had to measure things to figure out what that should be. (Ugh. Math.)

I was auditioning a lot of different options, thinking I would go with just one fabric. But when I saw how the red on the left side looked like it stopped and started again, I liked that, so I dug into the bin and found enough to use (mostly) the same fabrics as what was inside the gold.

I sewed these on and then agonized over the outer border. In the previous photo, you can see how I was going to use a green and make a border to still utilize the cornerstone applique flowers. I went through every single green in the bin to be used and nothing was big enough to use for all four borders. I went back to my stash and found a few pieces that would have been big enough, but were too light to give the desired effect. I even considered adding in some odd pieces to make things fit, but nothing was close enough to feel like that would work.
And so I decided it is done.

It is 52"x52" and large enough for a small lap quilt. With a dark fabric for binding, it will frame it out nicely and I'm happy to call it done. (But if I happen across a good deal on some medium-dark green and can get about a yard, it still may get that extra 6" border and end up 64"x64". Or if I have another idea how to add 6" borders all around, it may happen.)
I'm more or less happy with it.
Freddie had more opinions.

Maybe he thinks that black cat on there is him, not Salem? Maybe it is him? Either way, he was being extra attentive to my sewing during this process.
Once this was done, I was able to move into the yellow squares for the Rainbow Scrap Challenge prompt in April.

I didn't have as many yellow squares in my stash, so this gave only 14 blocks, but they're done and I can move on to pink, which is the color called for May.
I also worked on cat carrier covers and have discovered that my new iron, though exactly like my old iron, melts my wool pressing mat and gunks up the soleplate. I looked into it and some folks are trying to say it's not really wool. That may be the case, but why is it suddenly melting with a new iron? Another person (I had to dig a lot deeper for this idea) mentioned that there is lanolin in the wool (naturally occurring because it's wool) that may be melting and causing the problem. This makes more sense to me, but I guess either could be right.
So though I like using the wool pressing mat, I cannot use it without a cover over it now. (Because cleaning my iron four times in the span of a week is not sustainable or desirable.) I'm going to ponder my choices. The mat does give crisper creases, which is nice not only when making quilt blocks, but when pressing seams over for the handle holes on the carrier covers. But using a cover means one more layer of fabric I have to contend with.
I know, I know, first world problems.
Something to ponder.
And finally, some fun with Lily.

Some quilty friends and I went out to lunch last Monday - a place about 30 minutes from home - and visited a quilt shop while we were out. It's not a new shop, but they've moved to a new location, so there was a desire to check it out.
I found this light to add to my machine (if it's cloudy or later at night, the light in my machine is pathetic...my eyes are aging, too, but the light is not great to start with) and Lily promptly decided to help me get it open. I attached it to the machine with a Command strip instead of the permanent double-sticky tape (in case I didn't like it), which worked great. But I like the light. It helps a lot. Lily? Not so helpful.
I also got the book you see on the edge of the photo - Quilts of Iceland by Gudrun Erla. I'd seen it a few years ago and passed on it, but decided I really wanted it, so brought it home with me. I really like the lupine quilt that's on the top half of the cover, but have no plans to start it any time soon.
Just in case you're not sure Lily can be a good girl...

She can. It just doesn't happen often. She tends to find a place of her own to sleep and crashes out hard. This time, she decided mom and a quilt were too good to pass up. Our weather has been all over the place for temperature, so maybe she was just cold after a few warm days?
And that was my quilty week. A lot more than some other weeks, and now I'm ready for the next round of Bramble Blooms prompts - quilt/project #2 - to start in a few weeks. Maybe I'll quilt this one first? Hahahahaha! I still have to quilt the mystery quilt and that has a place to go!
Happy quilting!
Katie
5 comments:
Your BB top turned out great, I'm overthinking mine way to much,pretty or ugly it's getting finished today!🤣
Despite all your tribulations, the Bloom quilt has been transformed. I like the idea of a green border. That’s a nuisance the wool mat melting on your iron. I wonder if it is lanolin. I would have thought the fleece was cleaned before it was felted. Gudrun’s quilts are amazing. I look forward to seeing your iterations of her designs. More kitty quilt shenanigans. Love it!
Your BB! is great! With or without another border. Just wondering if you might have already tried a gold final border? That may be too overpowering but it's the sort of thing I like to try...
Some quilts just need some coaxing. I really like the lighter outside border with the scrappy touches. Your quilt really has a lovely look to it! I often find myself liking a quilt better after it sits for awhile and then coming back to it with fresh eyes. Thanks so much for joining up with the QAL! I have been so impressed by all the creative versions!
I do like what you finally decided to do with border number 2 (or is it 3?). Anyway, the on-point patches look great with your central portion and will happily accept another border if you choose to make the quilt larger. Audrey is right, sometimes we just need to let the quilt "marinate" (a very nice way of saying it's in "time-out") for awhile before we can move forward with it. I have one that's been marinating for three or four years now - just doesn't seem to want to come out of the closet and play anymore.
Post a Comment